A Clear View
When I first started teaching the muzzle loading section, I wondered….. how you could actually show the students the loading process? The problem was that when demonstrating the proper and safe loading process, the only equipment we had to use was the barrel from a muzzle-loading rifle. The barrel was hardened blued steel! What I needed was a barrel that was clear so the students could see the “simulated” black powder filling the barrel and the bullet being pushed down the barrel and being properly seated. The added bonus was, having the ability to stop the bullet half way down the barrel and opportunity to explain: “When the bullet is not properly seated on the powder charge, the air space between the top of the powder charge and the bottom of the bullet is considered an obstruction, which creates an unsafe condition.” This training aide can be used in a regular hunter education class or a field day exercise where muzzleloading is offered as part of a live fire range.
Your students and their parents will be watching intently to this whole process. The responses I have received are “Wow that was pretty cool, can we do it again?” The benefits to demonstrating the proper seating of the bullet in the muzzleloader can prevent the possibility of creating an obstruction and to demonstrate the proper way to seat the bullet on the charge. With this visual aid, the instructor can also emphasize the importance of using a marked ramrod while loading a muzzleloader.
Safety Tip!
Always wear safety glasses and ear protection when shooting a muzzleloading firearm.
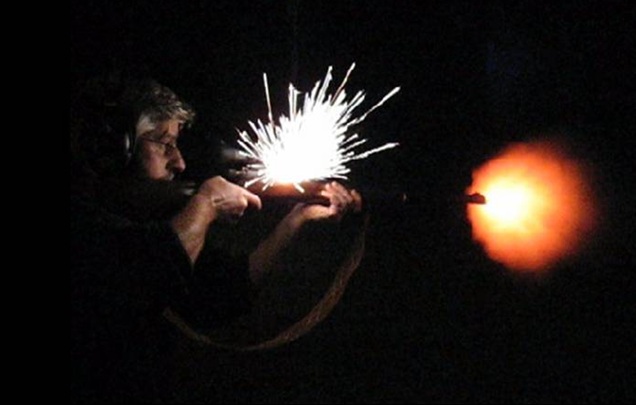
This is what the cap looks like when the firearm is fired.
This picture was photographed in a controlled environment for educational purposes.
How do you teach mezzleloading in your classroom? Please share your insights - when we learn from eachother our students benefit!
Michael